Understanding ABS Filament
ABS (Acrylonitrile Butadiene Styrene) is a thermoplastic polymer widely used in 3D printing, known for its strength, durability, and resistance to heat. It’s a popular choice for functional parts and objects that need to withstand stress and temperature fluctuations. However, successfully printing with ABS on a Tevo Tarantula requires careful setup and attention to detail. This guide will walk you through the process, from understanding the material to post-processing your finished prints. ABS offers excellent mechanical properties, making it suitable for a variety of applications, from prototyping to creating end-use products. This guide provides essential insights into optimizing your Tevo Tarantula for ABS printing, ensuring successful and high-quality results.
What is ABS Filament?
ABS is a common thermoplastic known for its balance of properties. It is made from three monomers acrylonitrile, butadiene, and styrene. The acrylonitrile provides chemical resistance and hardness, butadiene adds toughness and impact strength, and styrene contributes to the material’s rigidity and processability. This blend results in a material that is tough, slightly flexible, and can withstand higher temperatures compared to materials like PLA. ABS is frequently utilized in the automotive industry, in household appliances, and in the manufacturing of LEGO bricks, demonstrating its widespread utility and versatility across different fields.
ABS Filament Characteristics

ABS filament offers several key characteristics that make it suitable for 3D printing. It has a higher glass transition temperature than PLA, meaning it can withstand higher temperatures without deforming. ABS is also known for its impact resistance and durability, making it suitable for functional parts. However, ABS is prone to warping and requires a heated bed and often an enclosure to maintain a consistent temperature during printing. The material also releases fumes when heated, so printing in a well-ventilated area or using an enclosure with a filtration system is recommended. Understanding these characteristics is crucial for successful ABS printing.
Why Use ABS for 3D Printing?
ABS is a great choice for 3D printing when you need parts that are strong, durable, and can handle some heat. Its strength and impact resistance are superior to other common filaments, like PLA, making it ideal for functional prototypes, mechanical parts, and items that will be used in a more demanding environment. Moreover, ABS can be easily sanded, painted, and glued, allowing for detailed finishing and customization of your prints. This versatility makes ABS a preferred material for creating end-use products, particularly in industries like automotive, where parts require both strength and temperature resistance. ABS allows for a wide range of possibilities and is a great choice.
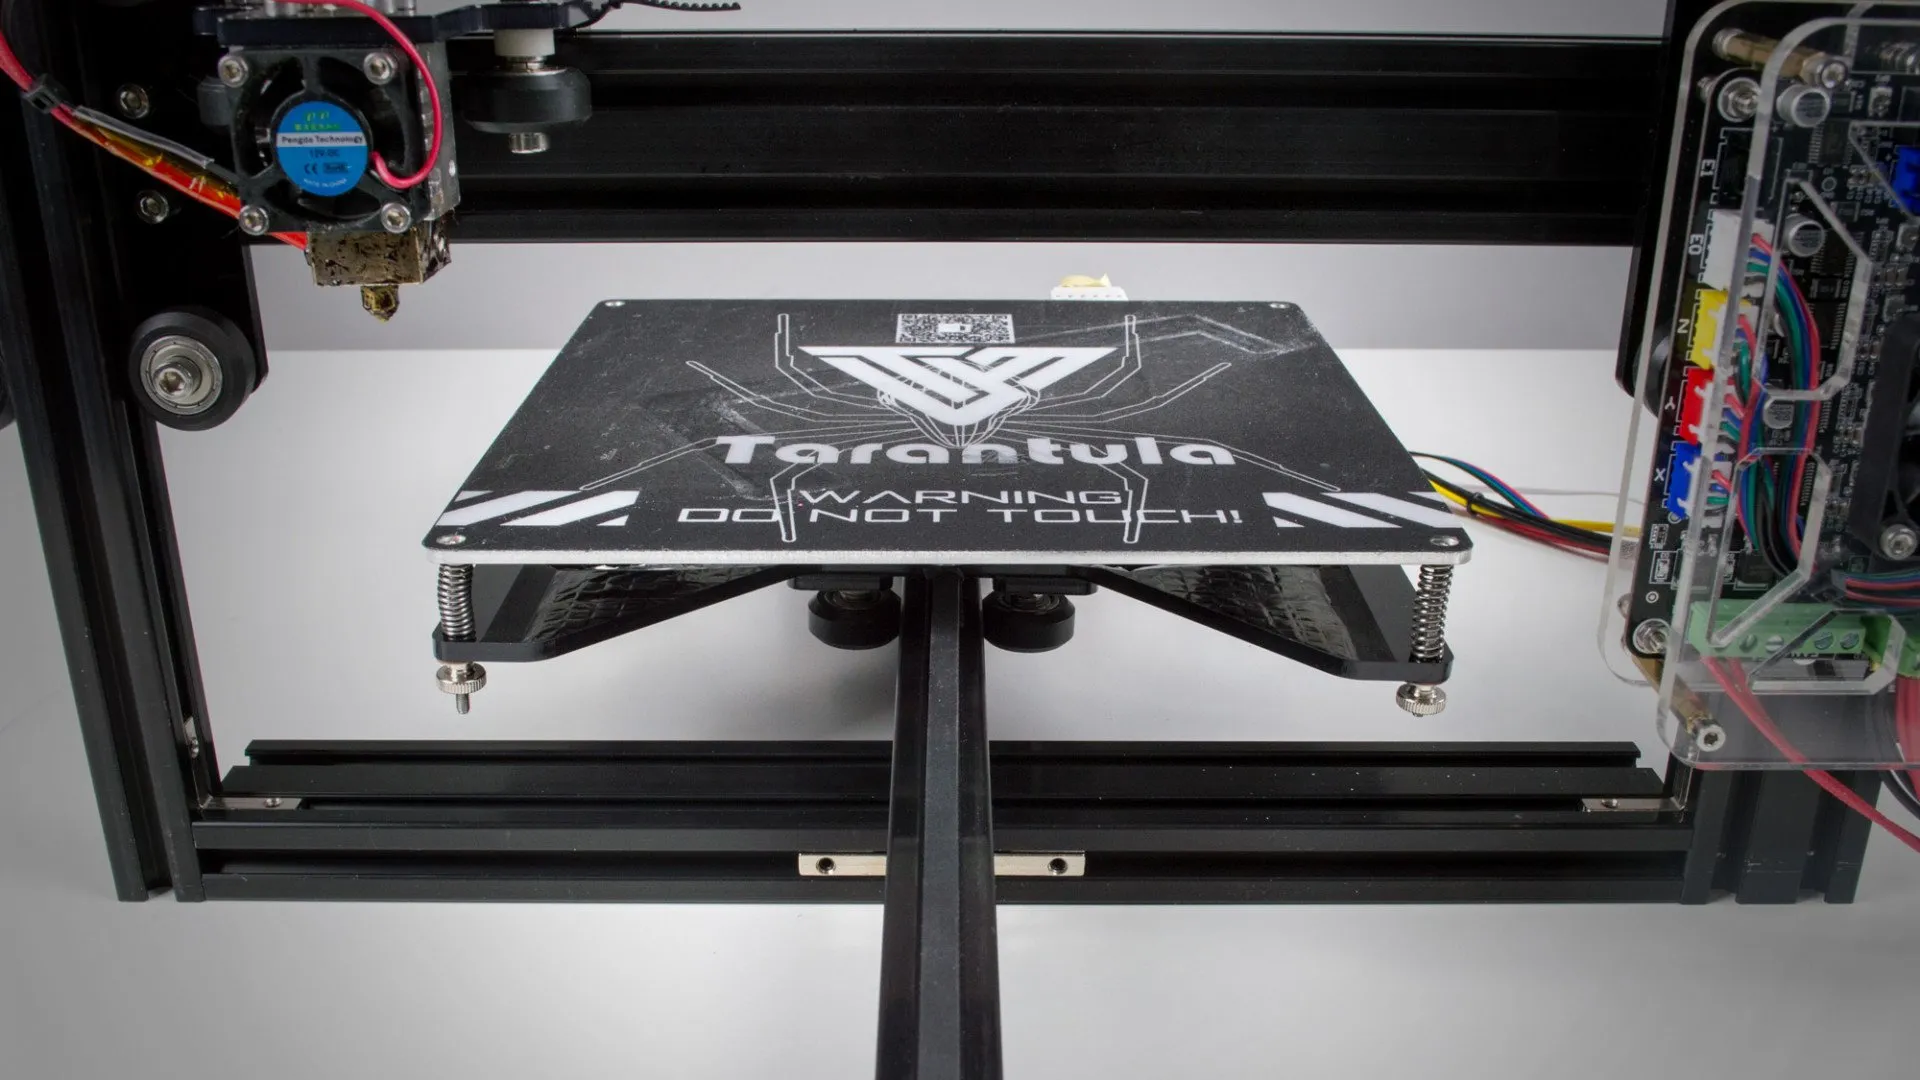
Tevo Tarantula Printer Preparation
Before you start printing with ABS on your Tevo Tarantula, you need to ensure your printer is properly prepared. This involves several key steps, including bed preparation, nozzle temperature calibration, and considering the use of an enclosure. Proper preparation will significantly increase your chances of a successful print and reduce the likelihood of issues like warping and poor layer adhesion. Taking the time to set up your printer correctly is the foundation for printing high-quality ABS parts. The following sections will outline each of these preparation steps in detail to help you maximize your success.
Printer Bed Preparation

Proper bed preparation is crucial for ABS printing, as it helps to ensure that your prints stick to the bed and do not warp. Begin by cleaning the print bed thoroughly to remove any dust, grease, or previous print residue. Isopropyl alcohol (IPA) is a great choice for this, as it effectively removes contaminants. Once the bed is clean, you can apply a bed adhesive. Glue sticks, specifically those designed for 3D printing, are a popular and effective choice. Applying a thin, even layer across the entire print surface will improve adhesion. Alternatively, using an ABS slurry (ABS dissolved in acetone) can also work well. Make sure the bed is level before starting your print to maintain a consistent distance between the nozzle and the bed.
Nozzle Temperature Calibration
Calibrating your nozzle temperature is crucial for achieving good layer adhesion and avoiding issues such as under-extrusion or overheating. ABS generally prints at temperatures between 230°C and 250°C, but the exact temperature will depend on the specific filament and your printer setup. Start with a lower temperature and gradually increase it in 5°C increments, printing small test pieces at each setting. Observe the print quality; if the layers are not bonding well or the print is weak, the temperature may be too low. Conversely, if you see excessive stringing or oozing, the temperature may be too high. Your goal is to find the lowest temperature that provides strong layer adhesion without causing other print defects. Make sure to perform a temperature calibration before any large print.
Enclosure Considerations
An enclosure is highly recommended when printing with ABS on your Tevo Tarantula. ABS is very prone to warping due to its sensitivity to temperature fluctuations. An enclosure helps to maintain a consistent ambient temperature around the print, which reduces warping and improves layer adhesion. The enclosure also helps contain fumes released during printing, making the environment safer. You can purchase a pre-built enclosure or create your own using readily available materials like acrylic sheets or cardboard. Ensure your enclosure has adequate ventilation to prevent a build-up of fumes. A well-designed enclosure will drastically improve your success rates with ABS printing.
Optimal Printing Settings for ABS

Finding the optimal print settings is essential for getting the best results with ABS. This involves adjusting the temperature, print speed, and bed adhesion strategies to create strong, accurate prints. The following sections will cover the critical settings to consider, and tips on how to fine-tune them to achieve the best print quality with your Tevo Tarantula.
Temperature Settings
As mentioned earlier, the nozzle temperature for ABS typically falls between 230°C and 250°C. The bed temperature should be set to around 80°C to 110°C. It’s a good idea to start with the lower end of these ranges and experiment to find what works best for your specific filament and printer. Printing temperature affects layer adhesion and the overall strength of your prints. Experimenting with different temperatures, in small increments, helps prevent under-extrusion, stringing, and other print defects. A consistent temperature ensures the plastic melts and bonds correctly. Fine-tuning your temperature settings to align with your filament ensures quality results.
Print Speed Adjustment
The optimal print speed for ABS is generally slower than for materials like PLA. A slower print speed allows the plastic to cool more evenly and reduces the likelihood of warping and layer separation. Start with a print speed of 30-50 mm/s for the outer perimeters and infill, and adjust as needed. Faster speeds can be used for infill if you’re not concerned about aesthetics. Slowing down the print speed, especially for the first few layers, significantly improves bed adhesion and reduces warping. It is essential to balance speed and quality. The right print speed is about finding that sweet spot where you achieve optimal quality without excessively prolonging print times.
Bed Adhesion Strategies

Bed adhesion is critical for preventing warping. Besides using a heated bed and applying a bed adhesive (like glue stick or ABS slurry), there are other techniques you can employ. Using a brim or a raft can significantly improve bed adhesion. A brim is a single layer of material that extends outwards from the base of the print, increasing the surface area in contact with the bed. A raft is a thicker base that the print adheres to, which can also help with leveling and prevents the print from directly touching the bed. Additionally, ensure the bed is perfectly leveled before each print. Properly leveling the bed ensures the first layer adheres correctly. Experiment with different adhesion strategies to find the best approach for your prints.
Dealing with Warping
Warping is one of the most common challenges when printing with ABS. It occurs when the plastic cools unevenly, causing the edges of the print to curl up off the bed. Several factors contribute to warping, but with the right strategies, you can prevent or minimize it. Ensure the bed is level, the nozzle temperature is correct, and the bed temperature is high enough. A well-enclosed printer will help maintain a consistent ambient temperature, reducing warping. Using a brim or raft provides extra surface area for adhesion. If warping persists, you might also consider adjusting your print cooling settings; reduce or disable cooling for the first few layers. Patience and experimentation are key to conquering warping.
Preventing Cracking
Cracking can occur in ABS prints due to rapid cooling, especially in areas with large flat surfaces or thin walls. To prevent cracking, ensure a consistent temperature throughout the printing process, which is where the enclosure proves invaluable. Slowing down the print speed can also help, giving the layers more time to bond. Avoid excessive cooling, especially during the initial layers. In some cases, adjusting the infill pattern can help reduce stress within the print, thus preventing cracks. Ensure the filament is dry, as moisture can also contribute to cracking. These strategies will help create stronger, more durable prints.
Post-Processing ABS Prints

After your ABS print is complete, there are several post-processing steps you can take to improve the appearance and functionality of your prints. These include sanding and finishing, which can eliminate layer lines and imperfections, and applying adhesives. The process will vary depending on the intended use of the part. Proper post-processing can turn a good print into a great one. Understanding these steps can elevate the finish of your 3D-printed parts.
Sanding and Finishing
Sanding is a common post-processing technique for ABS prints, as it helps to remove layer lines and smooth out imperfections. Start with a coarser grit sandpaper (e.g., 150 or 220 grit) and gradually move to finer grits (e.g., 320, 400, 600, or even higher) to achieve a smooth finish. Wet sanding with water helps to reduce friction and prevent the sandpaper from clogging. For complex shapes, sanding tools such as rotary tools with sanding attachments can be beneficial. After sanding, you can polish the print to achieve a glossy finish. Consider using a primer before painting for better paint adhesion. Sanding is a manual process. By following these steps you can significantly improve the appearance of the print.
Adhesive Applications
ABS is readily bonded using various adhesives, making it ideal for assembling multiple parts or repairing broken prints. Cyanoacrylate (super glue) works well, as does ABS-specific cement (ABS dissolved in acetone), which chemically bonds the parts together. When using ABS cement, apply a thin layer to both surfaces and hold them together firmly until the bond sets. The best choice depends on the specific application. Before applying adhesives, clean the surfaces you want to bond. Properly gluing parts is crucial for durable and functional applications. With the right choice of adhesive, your ABS prints will have enhanced strength and reliability.
Printing with ABS on a Tevo Tarantula requires careful planning, but the results can be extremely rewarding. By understanding the properties of ABS, preparing your printer correctly, optimizing your settings, and mastering post-processing techniques, you can create high-quality, durable parts. Remember to always prioritize safety and work in a well-ventilated area. This guide should provide you with all the information necessary to confidently print with ABS, opening up a wide range of possibilities for your 3D printing projects. Happy printing!